Making a Pinewood Derby Car
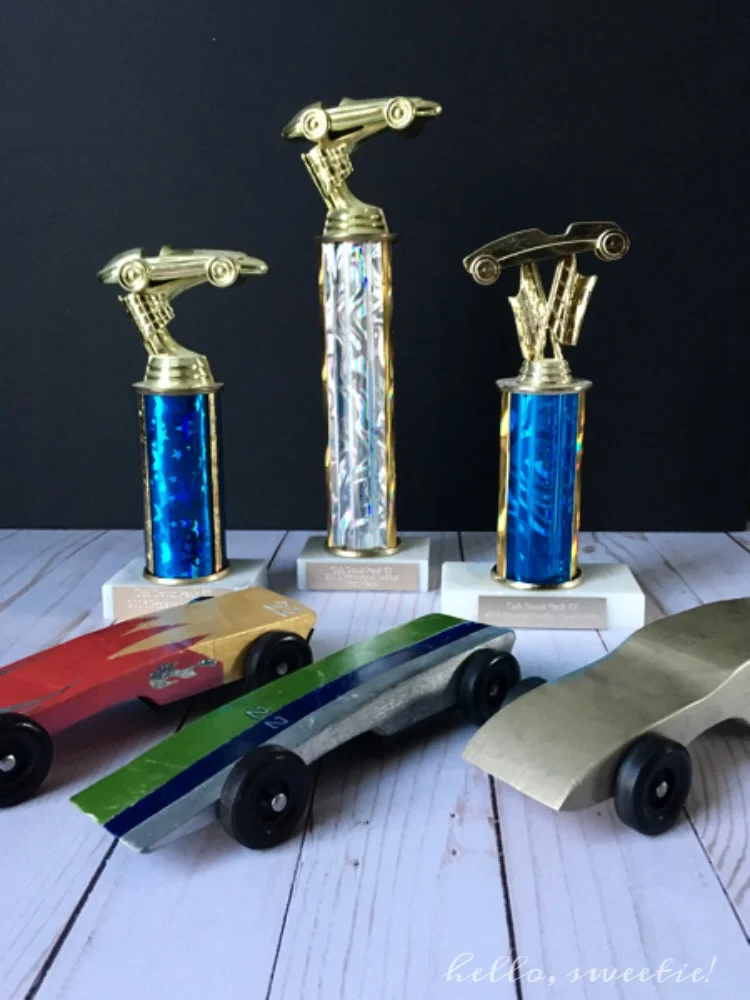
This year’s final derby cars: customized speed wedge design and swirl painted color!
Let me say this out-right: we are not professionals. My husband is not a woodworker by trade, nor does he have his own “man workshop” in our basement or garage. And while I enjoy being creative and working with my hands, I am not crafty. We do however have four boys who have been involved in the Cub Scouts program for many, many years. Every year from start to finish, we help them create a Pinewood Derby car. Together we’ve researched, read, and done our best to prepare for the big day. Like most other parents, we had no idea what this would entail. Were we ever in for a surprise! It was so much more involved than I could’ve imagined! We have enjoyed evolving our process over the years and wanted to share with other fellow Scouts (and their families), who may just be starting out. Best of luck during the big race!
Preparing the Wood Block:
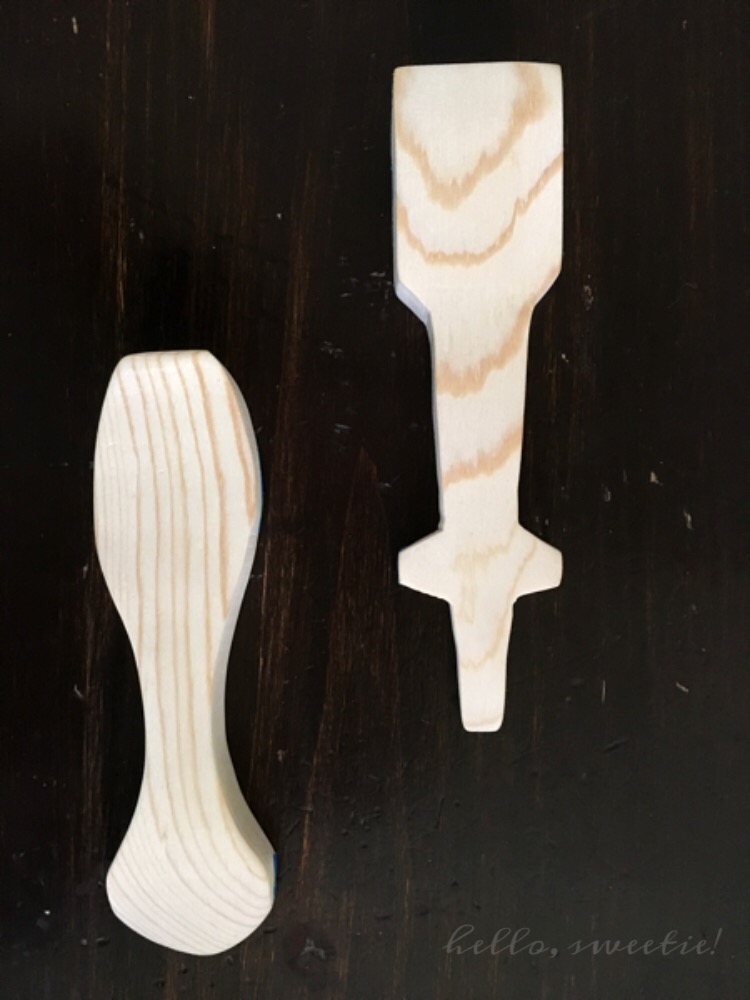
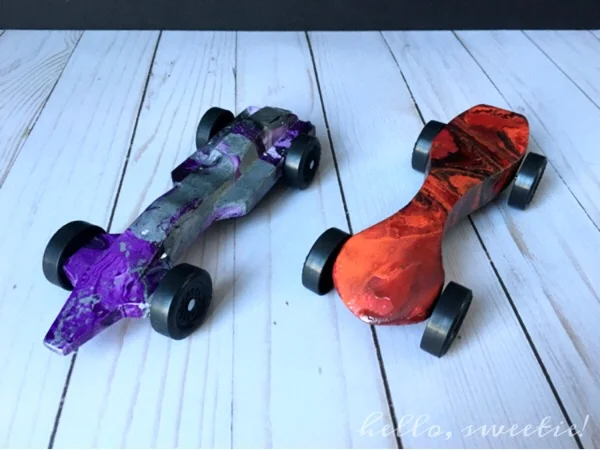
Each of our boys chose a speed wedge design again this year, but with a little flair.
Find the right template for the car you prefer. A “wedge shape” seems to be the best in our experience, since it allows the most air to flow aerodynamically, and also puts most of the weight in the center to the back of the car. Tape the template onto the wood block, (the top and sides). Cut with a bandsaw or coping saw. Sand it FOREVER. You can use a belt sander, a “mouse” hand sander, or regular sandpaper. Use roughest sand grit first and gradually use a finer grit. 200 being the roughest. The larger the number the finer the grit. When you think you’re done sanding, sand some more. It should be a smooth as a baby’s bum!
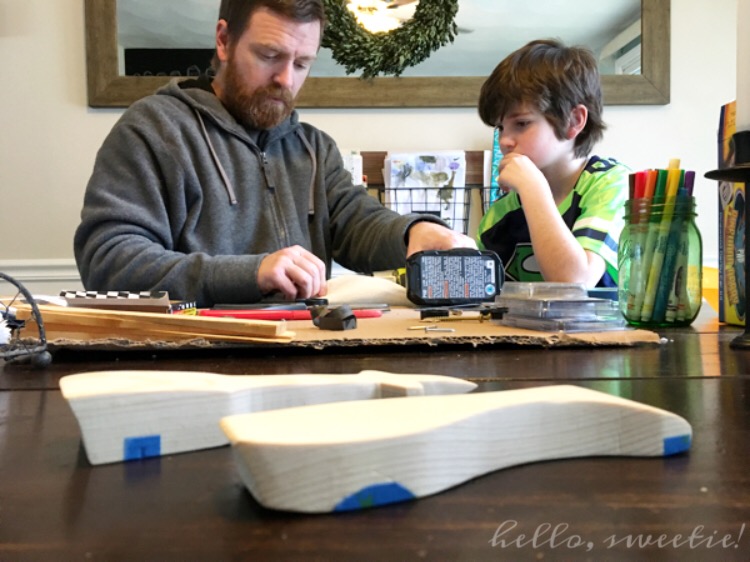
Every little part of the car needs to be prepped and tended to.
After sanding, using painters tape, cover all of the axle slots. This helps to ensure that no paint will get inside and cause friction when rubbing off on the axles or wheels.
Even smoothing our microscopic ridges can make all the difference.
Working together is the key! Each year, your Scout will be able to take on more of the process themselves. But we aren’t ready to put him in front of the jigsaw just yet!
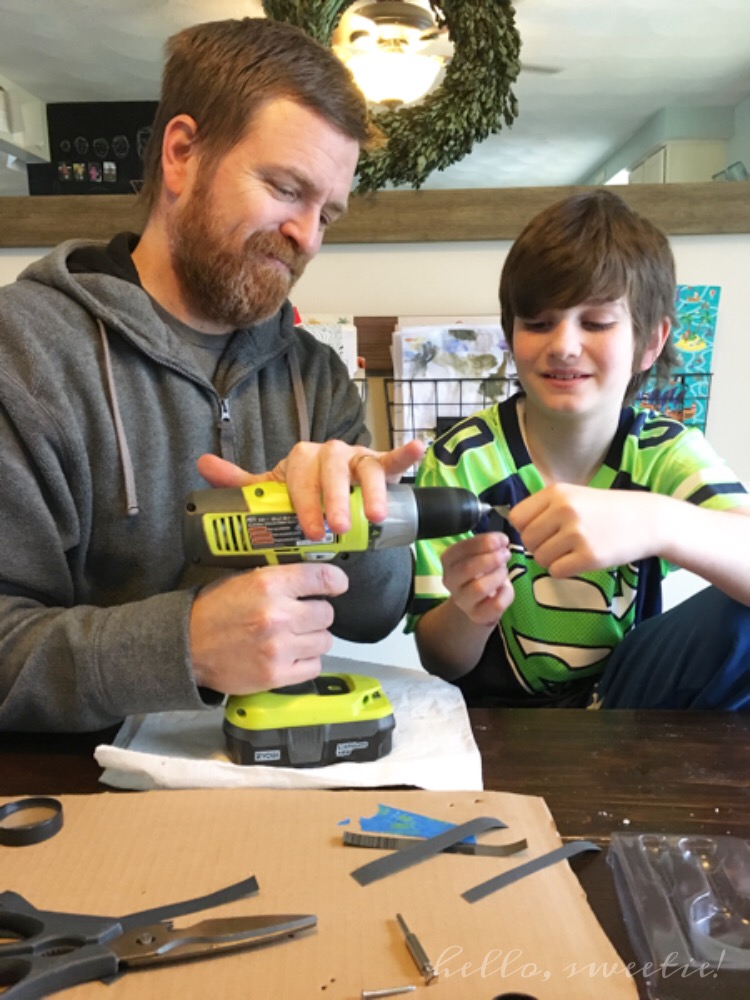
Prepping the Axles & Wheels:
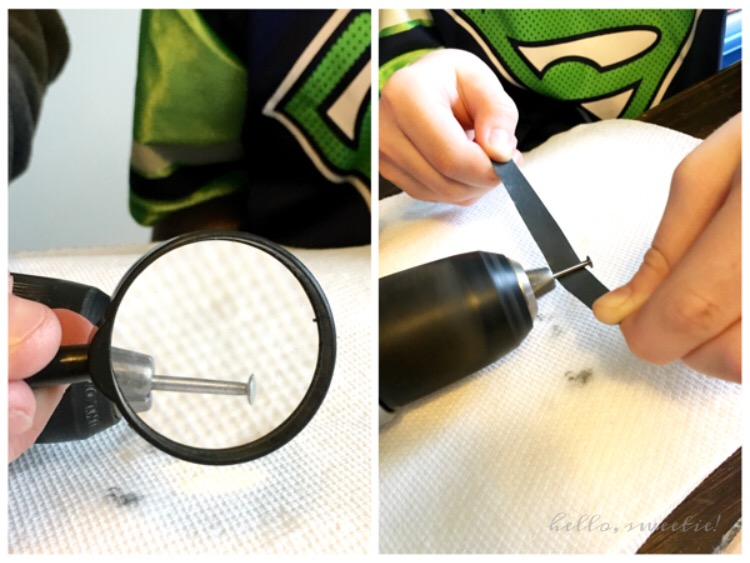
Using a small, metal jewelers file, smooth out the sides of each axle. (You’ll notice each one has a couple of grooves toward the head, this is what you want to remove with the file.) After that, insert the nail into the end of a power drill. This makes standing so much faster! Cut wet/dry sandpaper into strips about 3/4” to 1” in diameter. Use 400 grit for the nail body (shaft), 600 grit for the nail head. The smoother everything is, the less friction there will be, therefore the faster your car will go! Once all the nails/axles have been sanded, set them aside.
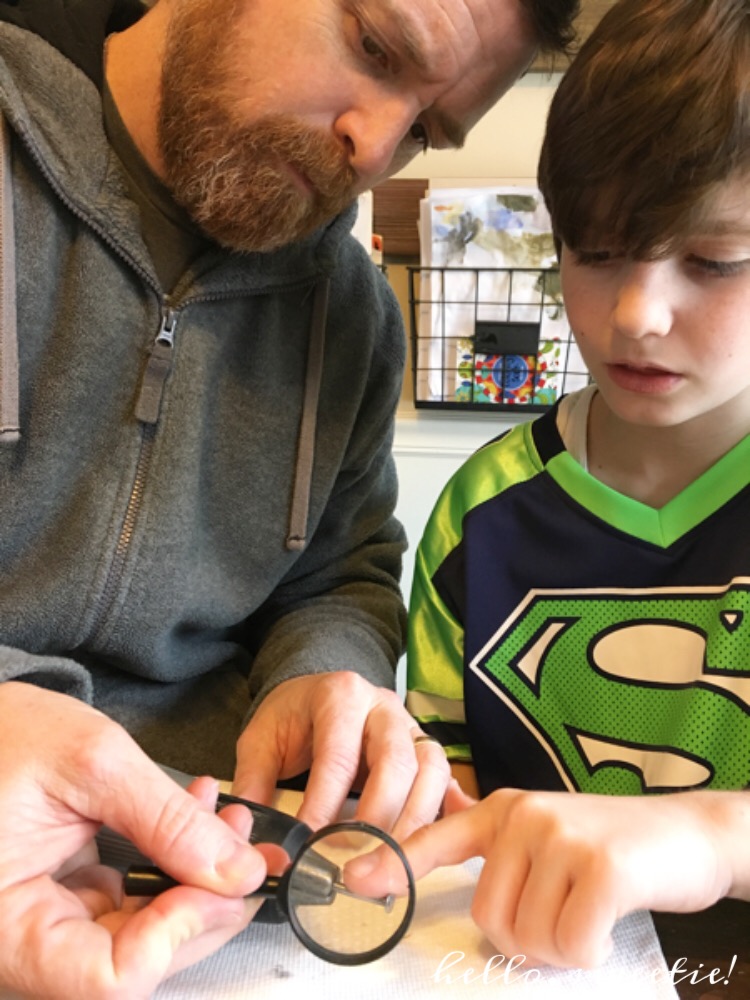
For the wheels themselves, we used a wheel mandrel and the wet/dry sandpaper to polish the surfaces, too. (Basically, just looking to remove any tiny imperfections.) Using a small magnifying glass really helps to see any of those blemishes you want to get rid of.
Lots of sanding ensures a smooth ride!
Prepare for Painting:
You have two options here, both of which we have tried. Brushing on a liquid wood sealer, or spray painting with a flat, white primer. Both work just as well as the other, but we felt the wood sealer gives you more control and is less messy. The spray paint will inevitably get on your hands and other surfaces, so be sure to build a spray paint box (cutting off the top of the cardboard box and placing the car inside). You’ll want to work on the top half first, letting it completely dry before priming the bottom. We suggest setting up a simple three nail drying apparatus like the one in the picture below. You will use this for the primer as well as the final color coat.
Swirl Paint Technique:
Making a swirl paint was incredibly easy!
For the past five years, we’ve attempted several techniques for painting the cars. Everything from brushing on regular interior wall paint, using spray enamel paint, acrylics... you name it. Sometimes we added decals and sometimes we used sharpies to embellish. This year we googled a few other options and settled on a super cool and easy technique called swirl paint.
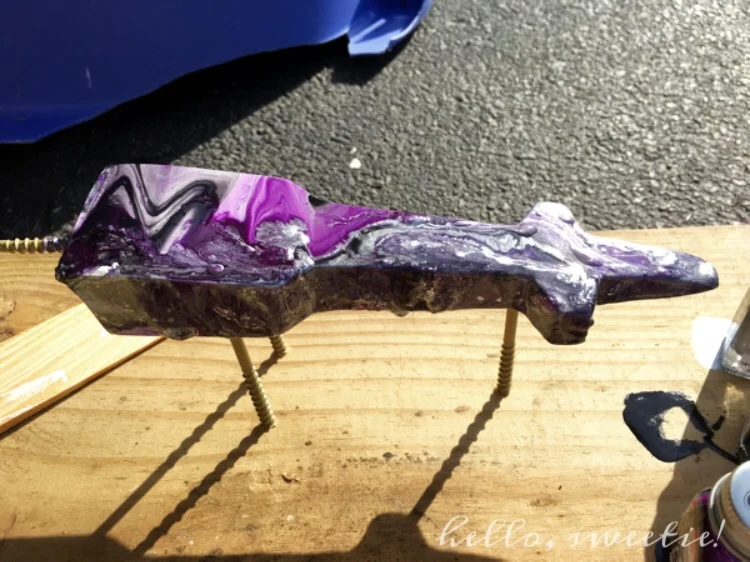
We were so pleased with the ease and cool custom look of the swirl paint technique! For this car we used purple, black and silver.
For this project you will need:
- a large painters bucket or empty container
- 1 large garbage bag
- 1 gallon of water
- 2 to 3 small jars of enamel paint, in your choice of colors
- 1 1/2 Tablespoonfuls Borax (found in the laundry section of your grocery store or Target)
- 1 paint stir stick
- 1 skewer/dowel/toothpick
- wire (to help dip your car)
- a clean rag
- clear spray paint
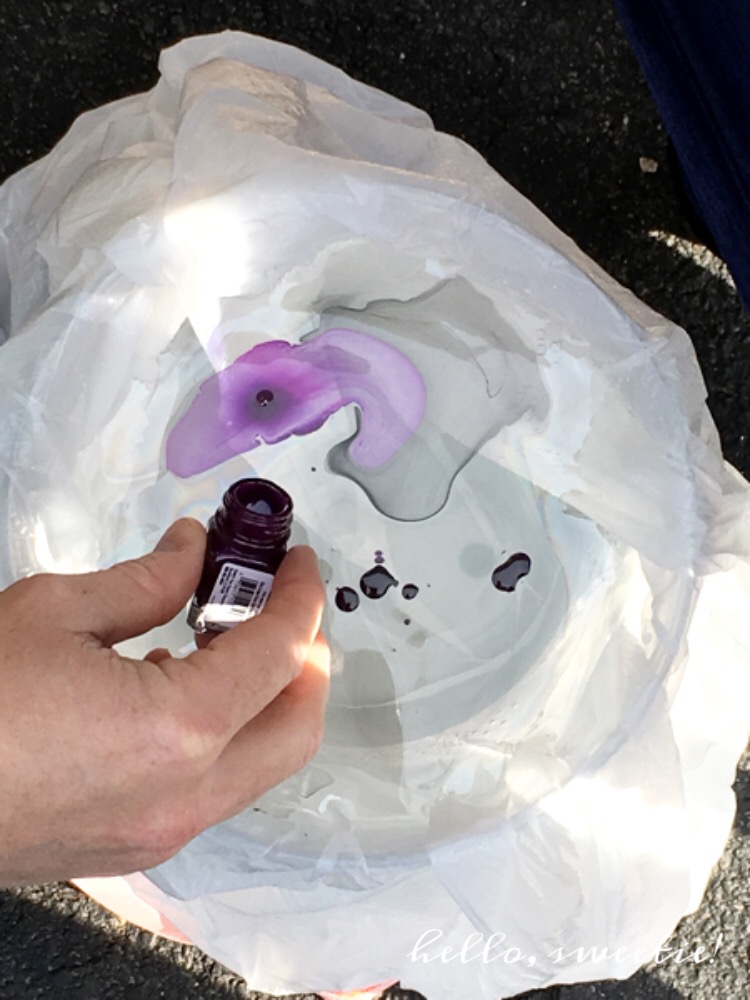
Line the painters bucket with the garbage bag. Pour in 1 gallon of warm water (at about 80°). Stir in the Borax with a paint stick. Very slowly drop a few dots of your main paint color into the water. You will notice it float on the top. Next drop in the secondary color. Finally drop in the accent color. You will be repeat this process 3 to 4 times with each color. Very carefully, with your toothpick or skewers, swirl the paint drops into one another creating a design. Then, with a wire tied around a nail that you have carefully drilled into the underside of one end of your car, submerge the car and move it slightly from side to side. This can create a neat zigzag pattern. Once the car is fully submerged up to the nail you are holding onto, wipe away the paint from the surface of the water with the clean cloth. Once the paint is out-of-the-way and you can see your car, pull the car out of the water. You will see all of the paint has adhered to the car in a fun new design!
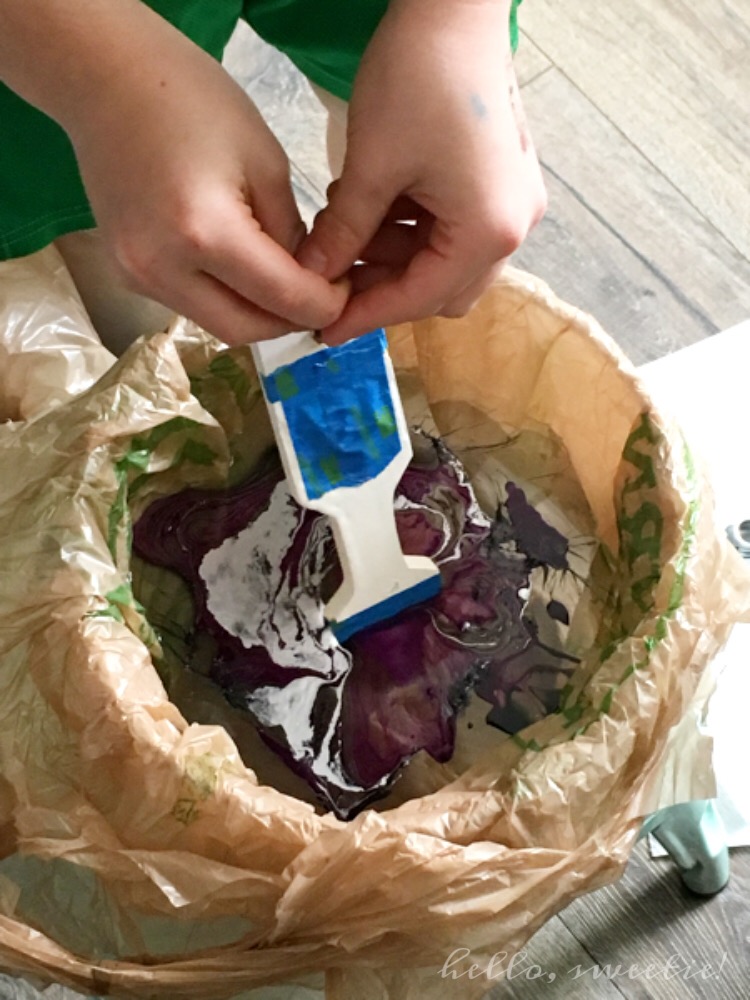
The swirl paint technique is very easy to do but unpredictable. You have to be willing to accept any design.
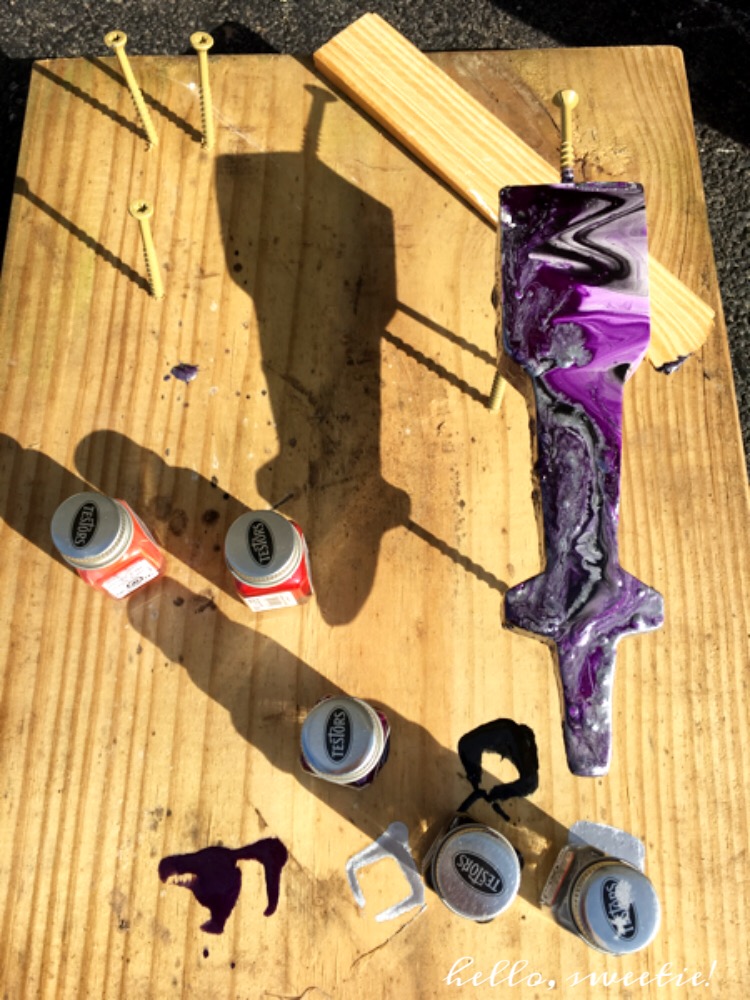
Building a little tripod stand helps the cars to dry without smudging or damaging the paint.
After we pulled it out of the swirl paint, we let it dry and the three nail contraption we had built before hand. Once it was dry, and no longer sticky, we used wax paper to carefully press down on any bubbles, and tried to try to flatten them. Note: if someone is looking to have a perfectly smooth car with zero imperfections, this might not be the right thing; but for a really cool looking, one of a kind car with some possible dimpling, swirl paint is definitely a great way to go. After drying, we sprayed it with a couple passes of clear coat spray.
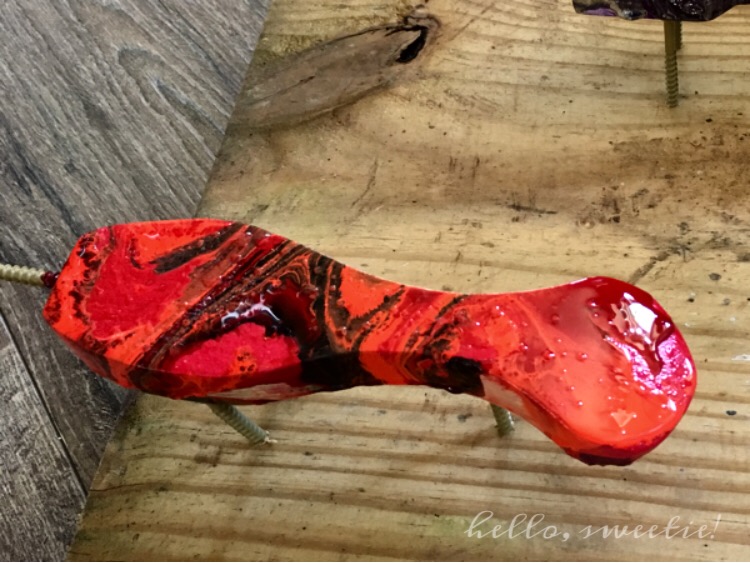
Watching paint dry on one of the cars that we tried the swirl paint technique on this year. He wanted his car to look like the planet Mars!
Adding the Weight:
The heavier the car is, the faster it will go. Pine wood is a very light material, so we wanted to remove as much of it as possible while still keeping the structure intact. The best way to do this was to hollow out the bottom and up through the middle, attempting to keep the weight about one inch infront of the rear axle (for the most part). We accomplished this primarily by using a Dremel tool. It’s just a very small sanding tool, essentially. If you don’t own many tools, you’ll find it’s also one of the more inexpensive options. Our first couple of years we did not own one, so we just used a drill bit and went to town the best we could.

Avoid sawdust flying all over your home by trying to contain it in an open cardboard box.
Once a small area was cleared away, we measured the approximate amount of weight we would need. We used a digital kitchen scale to place the car and weights on. (The final weight cannot exceed 5 ounces, and it is better to be slightly underweight been over.) there are many different types of weights you can use. They come in various shapes, sizes and materials. We like to use a combination of sinkers, plates/bars and tungsten putty. Tungsten is one of the heaviest materials, and because it is in putty form, it really gets into every nook and cranny we carved out. The weights can be found in most craft stores, but also in big box stores like Lowe’s, Home Depot and Michael’s. (Be sure to use any coupons as they are pretty expensive!)
Once the weight was added, we finally and CAREFULLY put the wheels on. We ensured they were lined up so that the car ran straight (just by pushing it along a straight groove in the flooring a few times) then glued the nail heads in place. We let the glue dry completely before doing anything else to the car.
The final step was to work some powdered graphite into the wheel and axle area. This is just one more way to help the car to move as smoothly and frictionless as possible. Spin the wheels for a couple of minutes at a time, numerous times over the next few days. This will really work it into all the grooves.
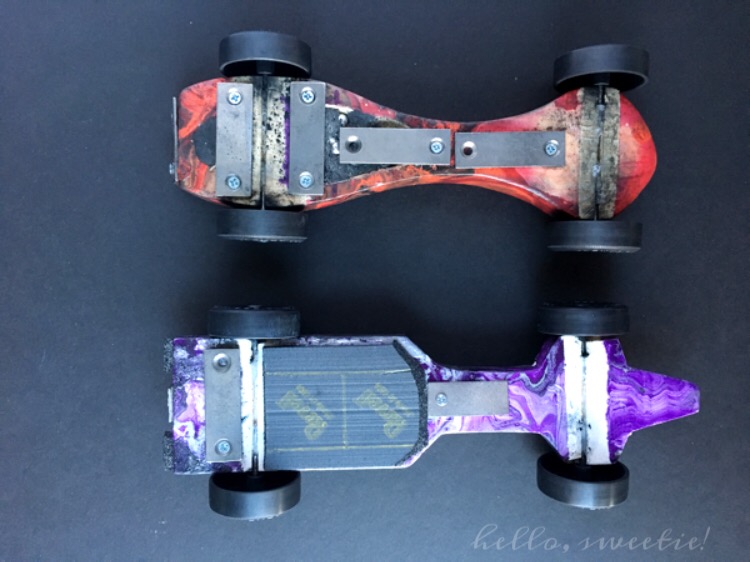
The type of weight used, as well as the placement, can have a big impact on the car performance.
So that’s it, in a nutshell! We really hope this mini tutorial helps your Scout to navigate the ins and outs of the car making process, and we wish you and your scout the best of luck on derby day!
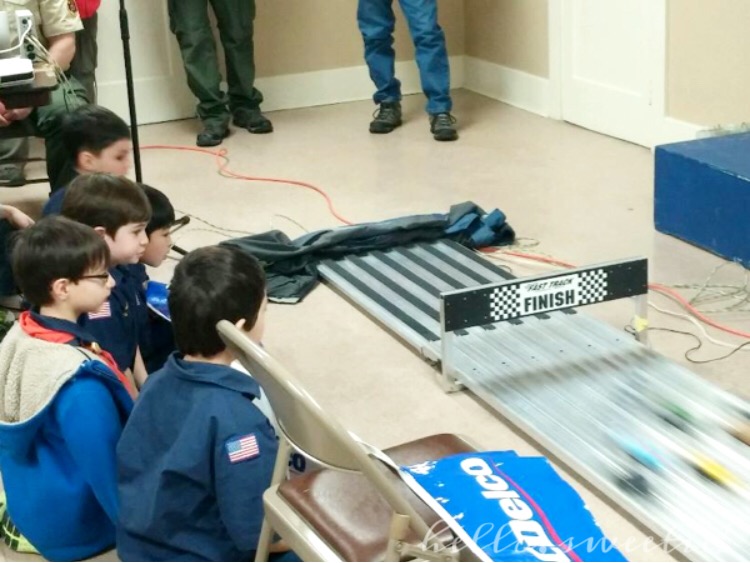
All the finalists sitting at the finish line for the last round!

Beginners luck! His simple speed wedge design earned him FIRST place! Look at the size of that trophy! He was so proud as we displayed it on our fireplace mantle for the year. He showed every relative that came over to the house.